
On this page
1. Choose the right place for the file
The sidebar Documents page describes itself as Files you’ve uploaded. Its empty state says a client’s documents stay on their job. Start from the client’s job when you need their files or requests.
In the contract builder, Documents Request is where you prepare the list of files needed for that engagement. A request is a description of an item to provide; it is not an uploaded document.
2. Choose a single item or a relevant group
Select Request Single Document for one item. For a set of items, inspect a template in Request Forms and Supporting Documents. New group opens the group-building controls.
After selecting a template, review File Requests and each item’s name and description. The earlier Payroll example adds two request entries: Payroll Setup Information and Period Payroll Information. They remain unsent in the pictured builder. Remove any item that does not belong in the engagement.
3. Ask for a specific item and period
Item: September 2026 business checking statement.
Purpose: reconcile the transactions included in the bookkeeping engagement.
Detail: provide the complete statement for September 1–30, including all pages. Use the client job’s designated file-request area.
A request such as “send everything” creates avoidable back-and-forth. Name the document and period, explain what complete means, and request only what the work needs. If the expected file is unavailable, ask the client what they have before substituting another document.
4. Add a file to your own library
For your own uploaded files, choose Documents → Add document. The Add New Document dialog contains an upload/drop area, Document name and folder controls.
Choose an existing folder, or select Create new folder and place the documents in it and enter Folder name. Review the selected file and destination before using Add Documents. Then find the resulting entry in the library and confirm it is the intended file.
5. Find and verify the file later
Use Search documents and the folder navigation. If a file is missing, return to All documents, clear search and confirm whether you are looking for your own upload or a client file on a job.
For a client request, inspect the actual request and returned file before marking your intake complete. A selected template or an open upload dialog does not show that a request was delivered or a file was received. If an upload fails, keep the exact error and file type/size for support; do not repeatedly upload without checking for an existing entry.
Common questions
Where are a client’s documents?
The Documents page says client documents stay on their job. Open the relevant client job rather than expecting every client file in your own Documents library.
Does selecting Payroll send a request?
The pictured result only shows two entries added to an unsent contract builder. Confirm actual dispatch and returned files on the resulting job.
Should I request every item in a template?
Review each item against the engagement. Remove unrelated items and make the period and expected document clear.
Which upload formats and limits are supported?
The dialog lists examples including PNG, JPG, PDF, DOC and XLS. Follow the actual file-picker and validation result; the image does not establish an exhaustive format list or size limit.
Learn more
Choose and preview tax organization forms
Inspect the audience, conditional questions and preview-only state before selection.
Read guide
Share useful examples without exposing client information
Choose the right destination, crop and redact support images, and use fictional examples.
Read guide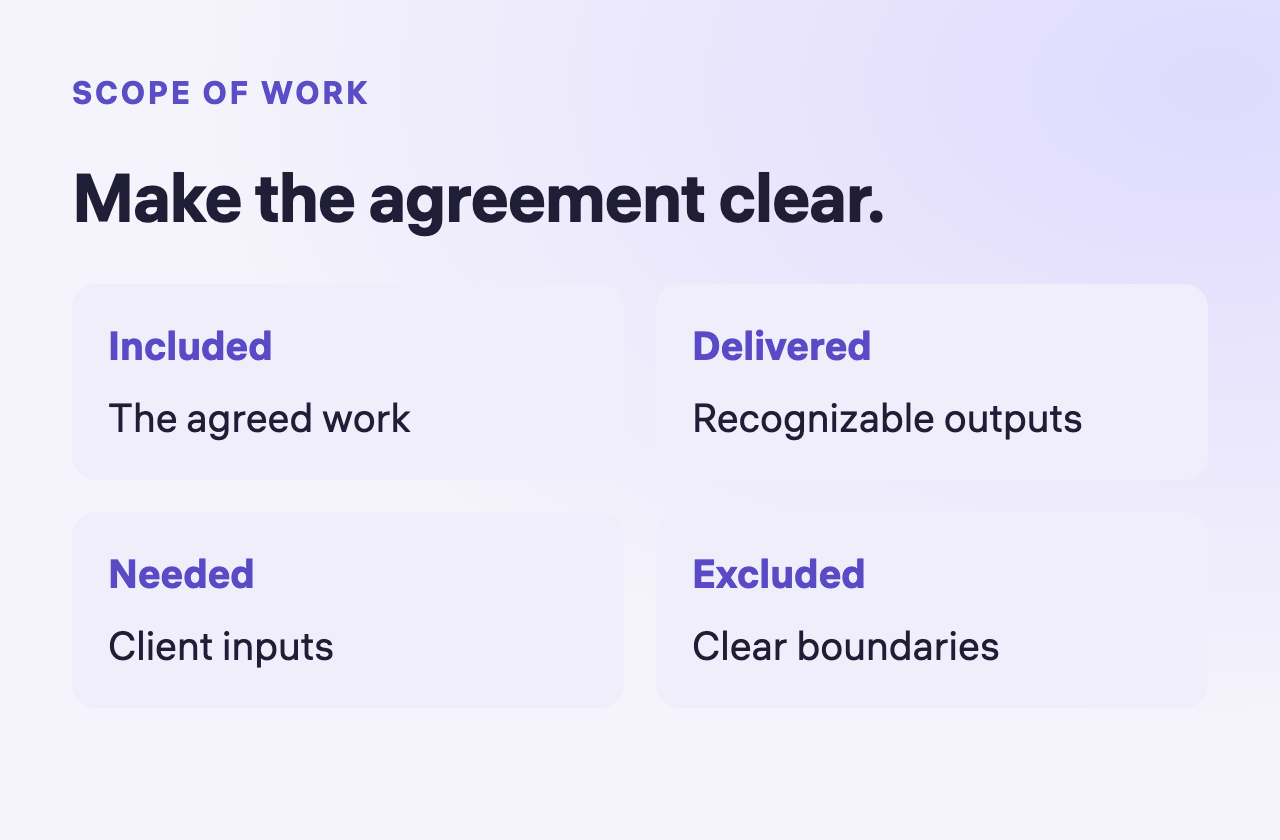
Prepare a contract and review its scope
Define the service, outputs and exclusions before reviewing the agreement.
Read guide